As a game developer, there are several tools available to you for creating, developing, and deploying your projects. One of these tools is Visual Studio Code, an open-source code editor that can be used to write code, debug and perform many other tasks. With the support of Unity, this powerful tool can be used to create and develop games.
Using VS Code with Unity offers developers several benefits, including aiding with game creation, improving collaboration, and streamlining development processes. In this article, we’ll explain how to use Visual Studio Code with Unity.
Table of Contents
Download Visual Studio Code
You can download the stable build directly from the Visual Studio website. In case you want to test new features which are being built, VS Code Insiders should be your choice.
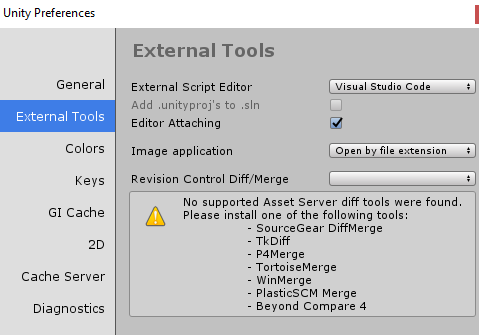
Set VS Code as the default script editor
In Unity, open Unity’s preferences window by accessing Edit > Preferences. Then on External Tools, browse to the folder VS Code was installed to set it as the default external script editor. After that, double-clicking on a script file will open it in this editor.
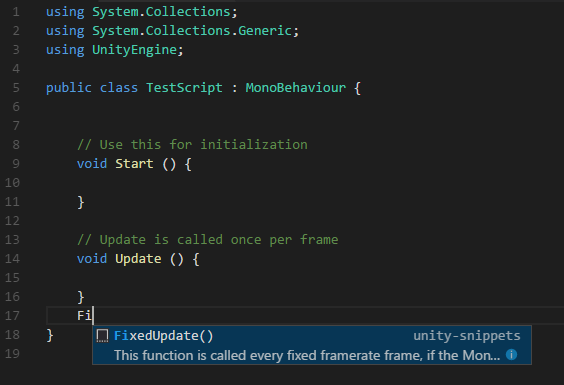
VS Code supports the most common features of a script editor such as Syntax Highlighting, IntelliSense, Snippets, and CodeLens.
Install Unity Extensions
Before using the editor, you need to install some extensions from VS Code Extension Marketplace, which will help you write code for Unity faster.
In VS Code, open the Extension tabs or press Ctrl + Shift + X then type “Unity” in the search box to search for all extensions related to Unity. There are 3 extensions you need to install.
- Debugger for Unity – It allows Visual Studio Code to debug your Unity C# projects.
- Unity Snippets – It provides code snippets for working with Unity C# scripts.
- Unity Tools – It adds miscellaneous functionality to VS Code for Unity developers.