Do you need help recording a screen on Windows 10/11? Well, you’re reading the right article that would give you tips to record videos on Windows. Here, you would know about two of the most effective methods to record your screen. But before we go to that, let’s take a look at the difference between the two methods for you to determine which method is right for you.
Screen recording on Windows 10/11 is easy with these excellent methods: Windows Game Bar and OBS Broadcaster.
- For users who want fast video recording, the Windows Game Bar provides a reliable and fast recording process.
- It’s not bad if you want to change the quality of the recording. Let the OBS Broadcaster help you. Users can record a new window for their preference and comfort using OBS Broadcaster.
If you’re running an active app, the Game Bar is the right method you can use. But, take note; you can only record what’s happening on Chrome or the app and not the entire screen.
Table of Contents
Record Screen with the Windows Game Bar
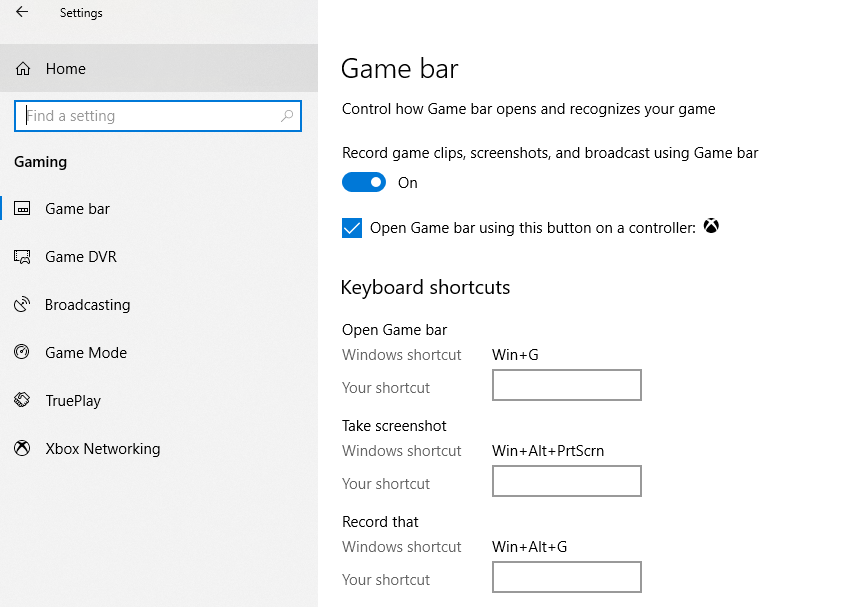
If you prefer using the Game Bar, it’s a good choice because it’s fast and easy to use. You press the Windows Key + G. You can go to the Start then click Settings, and proceed to the Gaming option. Last, you can access the Game, and you make sure to turn it on.
Now, we proceed to the recording process, and here are the systematic steps you need to follow to record a video:
- You go to This PC option you can see on your computer. Next, you proceed to Videos and then to Captures. Here, you would see all the saved recordings that you have.
- What if you want to use the microphone while you record a video? Is it possible? Of course, it is, you perform the
Windows Key + Alt + M. You perform the same shortcut if you want to turn off the microphone.
- Next, you press the
Windows Key + Gif you want to record audio from apps, but don’t like to record music from the background apps. You open the Game Bar option then you click Settings you can see it on the left side of the screen.
- Then, you scroll through the settings menu that pops up on the screen. You select the Game Only option that you can see on Audio to record. Also, you can perform an alternative by recording sound on your PC.
After you stop the recording, the Game Bar will save your screen recording as an MP4 file in your “Videos” folder. To find your video, open the “File Explorer” app and navigate to the “Videos” folder. Your recording will be named “Game Clip” followed by the date and time of the recording.
Record Screen with OBS Broadcaster
OBS Broadcaster is a free screen recording software. In following the basic shortcuts, you would be ready to start the top 3 steps in the recording:
Select the Audio or the Microphones
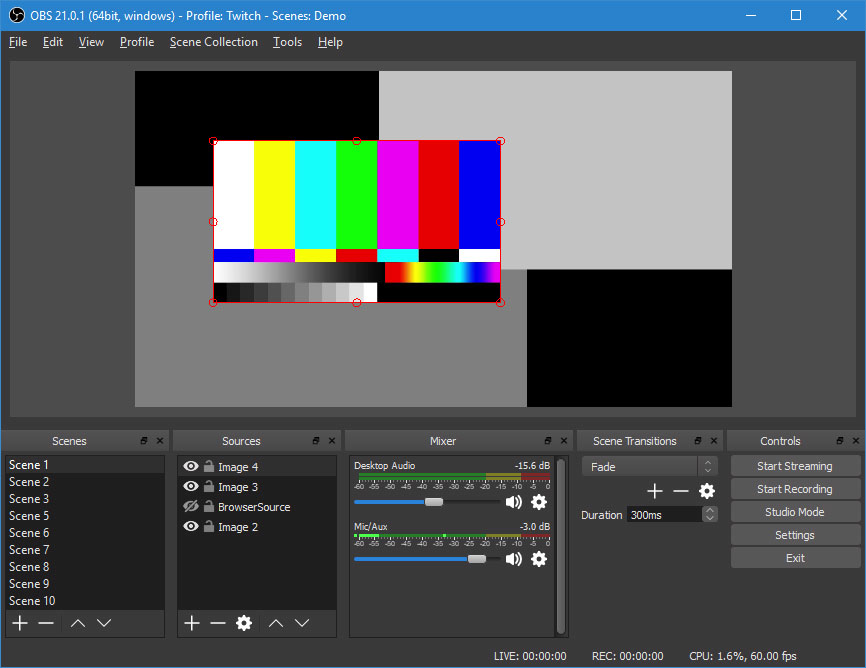
Here, the OBS would use the right app you have on your device. You can start recording audio by selecting the Setting function you would see on the far right.
Choosing a Window or Program You Can Record
For you to perform the second step, you add a source so that the OBS knows the audio to record. You can use the UBS Broadcaster on the main dashboard. Then, you proceed by adding the entire display you like. You click the + arrow and choose Display Capture and click OK.
Adjust the Recording or Audio
Now, you can start recording, but you need to change certain options so that you can do it. You might want to adjust the volume and access the tools such as settings, mute, and volume slider.
Get ready to record your screen using these tips and achieve satisfaction in using Windows 10/11. These awesome tips are your key to enjoying screen recording.
Related posts:
 30 Best Free Windows 10/11 Software in 2024
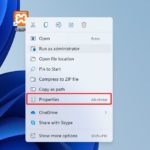 How to Set Apps to Always Run as an Administrator on Windows 11