Eventually, your PC will fail to boot. This can be caused by viruses, software, or errors. When that happens you will need a bootable USB to repair the system or install a fresh one. This guide will help you get this task done.
You will need:
- ISO file of the operating system you want
- USB thumb drive with 8GB of space or more
Table of Contents
Choose the Right USB Drive
Selecting the correct USB drive is the first step in creating a bootable USB drive. The USB drive must have enough space to store the operating system or rescue data, with a minimum of 8 GB.
A USB 3.0 drive is recommended for faster data transfer speeds. Make sure that the USB drive should be in good condition and free from any damage.
After selecting the correct USB drive, you need to format it. Formatting the USB drive will erase all of its existing data, so make sure to back up any important files before proceeding.
Download the Operating System
Once you have identified the operating system you would like to install, the next step is to download the ISO file of the correct version. It is important to ensure that the version of the operating system you download is compatible with your PC.
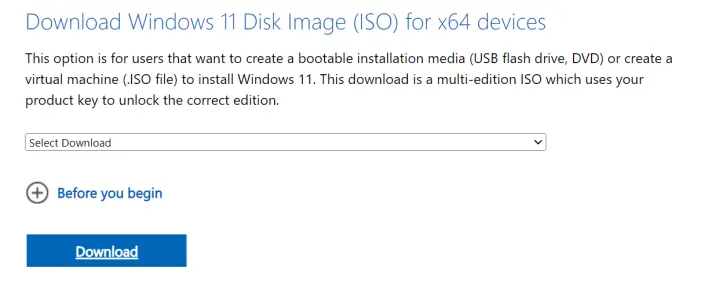
You can usually find this information on the official website of the operating system or on a trusted source. The downloaded file should be in the ISO format, which is a standard format for downloading and creating bootable USB drives.
Recommended link for Windows 11: https://www.microsoft.com/software-download/windows11
Create a Bootable USB Drive
There are several tools available to create a bootable USB drive. In this article, we will use the Rufus tool to create a bootable USB drive.
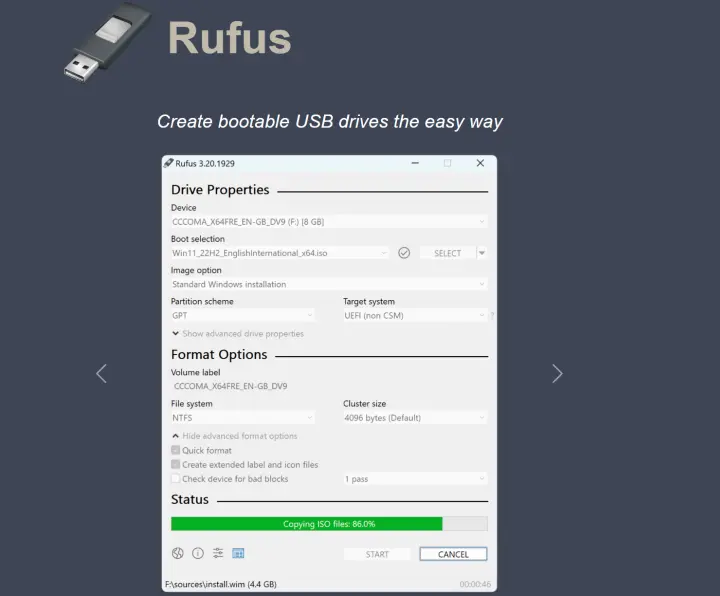
- Download and install Rufus on your PC.
- Connect the USB drive to your PC.
- Open Rufus and select the USB drive you want to use.
- Select the ISO file of the operating system you want to install.
- Choose the partition scheme and target system type for the bootable USB drive. If you are not sure, leave the default options.
- Click on the “Start” button to begin the process of creating a bootable USB drive.
- Wait for the process to complete. This may take some time depending on the size of the ISO file.
Boot Your PC from the USB Drive
The final step is to boot your PC from the USB drive. To do this, you need to change the boot order in the BIOS settings of your PC. The BIOS settings can be accessed by pressing a specific key during startup. The key to access the BIOS settings varies depending on the manufacturer of the PC. Some common keys to access the BIOS settings are F2, F10, Del, or Esc.
- Turn on your PC and press the key to access the BIOS settings.
- Navigate to the “Boot” or “Boot Order” section.
- Change the boot order to prioritize the USB drive over the hard drive.
- Save the changes and exit the BIOS settings.
- Restart your PC.
- Your PC will now boot from the USB drive.
Save Your PC
Now that your PC is booting from the USB drive, you can either install the operating system or rescue data from your PC. If you want to install the operating system, follow the instructions provided by the operating system installer. If you want to rescue data from your PC, you can use a rescue tool like Hirens Boot CD.
Hirens Boot CD is a rescue tool that contains a variety of tools to diagnose and fix common PC problems. To use Hirens Boot CD, follow these steps:
- Download and burn Hirens Boot CD to a CD or DVD.
- Boot your PC from the CD or DVD.
- Choose the option to boot into Mini Windows XP.
- Once you are in Mini Windows XP, you can access the files on your PC and copy them to the USB drive or an external hard drive.
- If you encounter any problems with your PC, you can use the tools available in Hirens Boot CD to diagnose and fix the problem.
Creating a bootable USB drive is a simple process that can save your PC from a variety of problems. Whether you want to install a new operating system or rescue data from your PC, a bootable USB drive can help you get the job done. With the right tools and a little bit of know-how, you can create a bootable USB drive in just a few easy steps. Remember to always use a trusted source when downloading the operating system or rescue tools, and make sure to keep your USB drive in a safe place.