Secure Boot is a security feature that helps protect Windows 10 from malware and other malicious attacks. It also prevents you from running unauthorized operating systems on your PC, but it can be really annoying if you want to install Linux or boot into recovery mode. In this article we will show you how to disable Secure Boot so that you are able to change what happens when your computer starts up!
Table of Contents
What is Secure Boot?
Secure Boot is a security feature that was introduced with Windows 8.1 and offers an added layer of protection from malware by ensuring that the operating system, along with all the software on the PC, has not been tampered with.
Secure Boot is a security feature that helps protect Windows from malware and other malicious attacks. It also prevents you from running unauthorized operating systems on your PC, but it can be really annoying if you want to install Linux or boot into recovery mode. In this article we will show you how to disable Secure Boot so that you are able to change what happens when your computer starts up!
In order for a PC to boot up, it has to load the operating system’s kernel and other important files from somewhere. The Secure Boot feature prevents unauthorized software or hardware drivers (such as those that could be loaded by malware) from being able to modify these critical parts of your computer before Windows can start up.
Why Disable Secure Boot?
Secured Boot is a security feature that can be really annoying if you want to install Linux or boot into recovery mode. In this article we will show you how to disable Secure Boot so that you are able to change what happens when your computer starts up!
While it’s great for preventing unauthorized operating systems from running on your PC, Secure Boot also prevents the option of Windows in Repair Mode and other useful advanced startup options like Command Prompt from starting automatically with your PC.
If there are any problems happening during startup (for example: black screen), then these handy features won’t work because they require a non-secure environment where malware cannot break anything – which means no kernel loading at all!
But if something goes wrong such as a blue screen of death, then there’s nothing you can do other than resetting your PC and starting all over again. With Secure Boot enabled, it’s impossible to enter advanced startup options from the boot menu to fix these problems
This may also be an issue if you want to install Linux or run different programs on Windows that require “administrator privileges” (for example: setting up Wine for running games in Linux)
The easiest way around this problem is by disabling Secure Boot so that you are able to change what happens when your computer starts up!
How To Disable Secure Boot on Windows 10?
To disable secure boot follow our easy steps below:
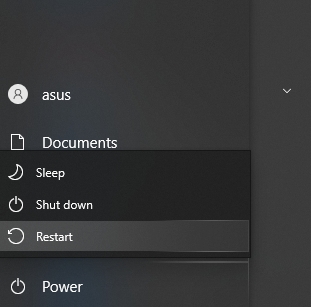
- Click on Windows icon on the bottom left of your screen then click on Power icon.
- Hold down Shift key and click Restart to open more options.
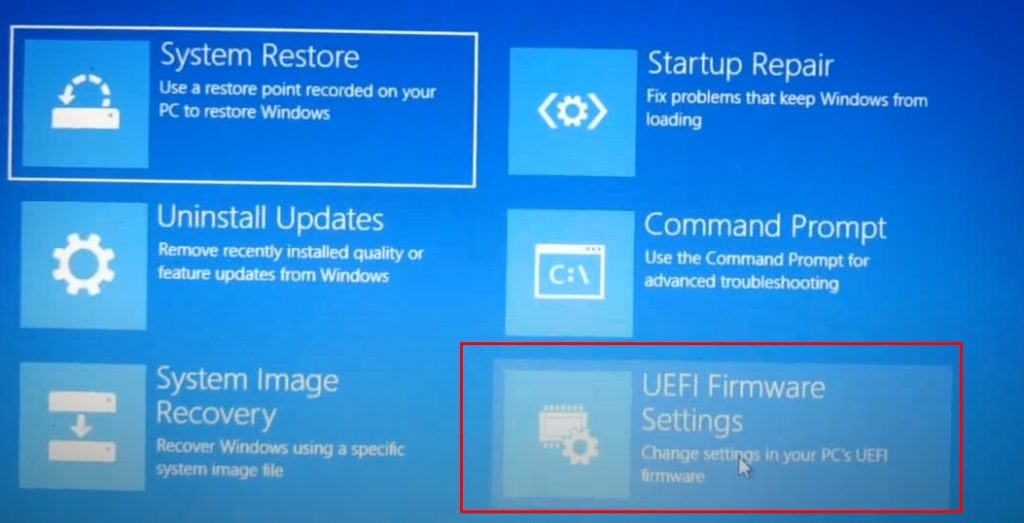
- After the blue menu appears, select Troubleshoot > Advanced Options > UEFI Firmware Settings.
- After this, your PC will be booted into BIOS mode. Access Security tab (or similar name depends on manufacturer) > Secure Boot (or Secure Boot Control) > pick Disabled.
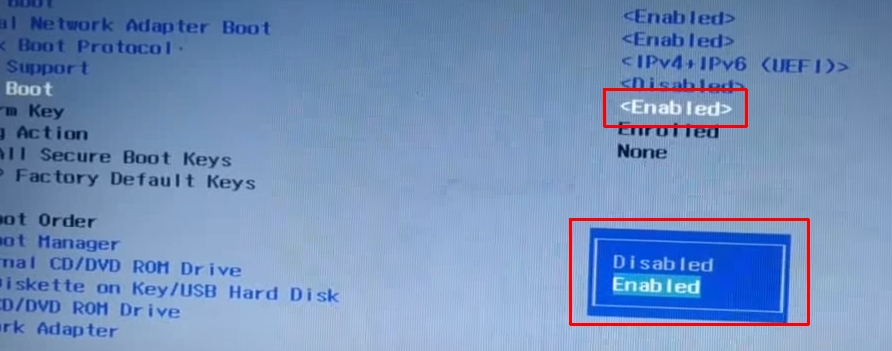
- Save & Exit BIOS.
To re-enable the Secure Boot, you can follow the same steps but choose Enabled on the last step.