Desktop support allows developers to write apps that can be run on Windows, macOS, and Linux. Even though it is not ready for production yet, it won’t keep us from playing around with writing a desktop app.
Note: As of 2022, you don’t need to follow this tutorial anymore. The support for Desktops is added by default.
Even though the support is still in the master/dev channel, we still see some developers who start to take advantage of it to create their business apps.
- Flokk – A fresh and modern Google Contacts manager that integrates with GitHub and Twitter.
- Sharezone – A student planner aimed at the German educational market.
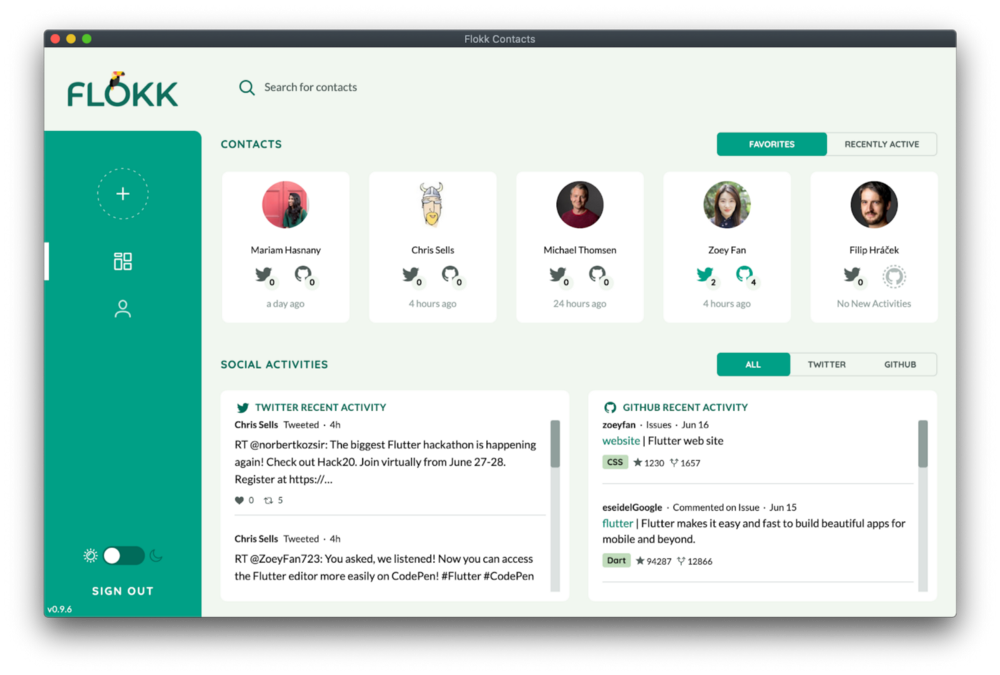
Table of Contents
Setup
We must be on the dev channel. It used to be the master channel before September 2020.
flutter channel dev
flutter upgrade
Enable respective OS support
flutter config --enable-windows-desktop
flutter config --enable-macos-desktop
flutter config --enable-linux-desktop
Run flutter devices to see the list of connecting devices. Your desktop will be among the devices if all previous steps are followed correctly.

Then run flutter doctor to check whether your machine are still missing any tools.

The most common issue is that the latest Visual Studio isn’t installed. In my case, it is Visual Studio - develop for Windows (Visual Studio Community 2019 16.7.3).
Write your first app
Just open your IDE and create a Flutter project normally. To add Desktop support for the old projects, use :
flutter create .
I think you will use this command a lot. Sometimes, when there is a new upgrade for Desktop support, you need to delete the old Windows folder in your project and create it again for getting the latest changes with the command.
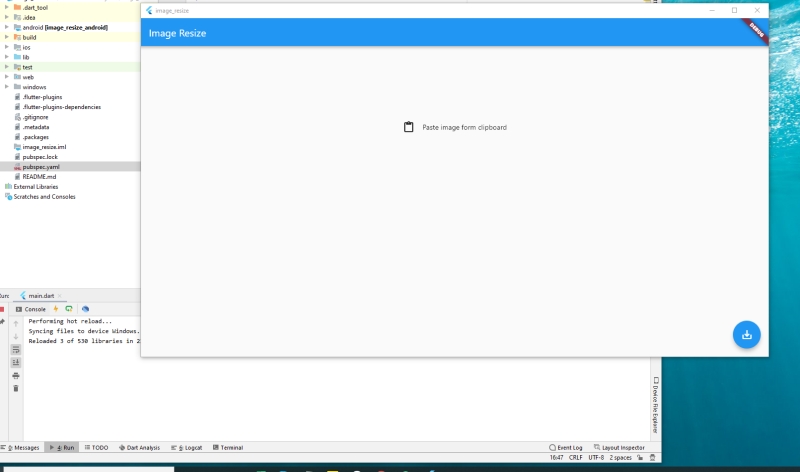
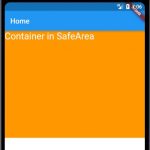
Above is my first testing app on Windows 10.