Splash Screen is displayed for like a second or two then gets redirected to main default activity after an app is first opened. It is often used to display an app or company’s logo. Since Android Studio hasn’t had this feature built-in, this tutorial will show you how to develop a splash screen.
The logic behind splash screen is simple. Create an activity which shows splash screen’s content, set a timer to make it disappear after a few seconds then display main activity.
How to create splash screen
The first step is to create a new project. You can name the project whatever you want. In my case, I choose the project I already created in this Android Picasso example.
Let’s create a splash screen java file first. Add a new Java file by right-clicking on package name > New > Java Class. Name it SplashScreen.java and add following codes.
[java]
import android.app.Activity;
import android.content.Intent;
import android.os.Bundle;
public class SplashScreen extends Activity {
@Override
protected void onCreate(Bundle savedInstanceState) {
super.onCreate(savedInstanceState);
setContentView(R.layout.activity_splash_screen);
//redirect to MainActivity after 2 seconds
Thread timerThread = new Thread(){
public void run(){
try{
sleep(2000);
}catch(InterruptedException e){
e.printStackTrace();
}finally{
Intent intent = new Intent(SplashScreen.this,MainActivity.class);
startActivity(intent);
}
}
};
timerThread.start();
}
}
[/java]
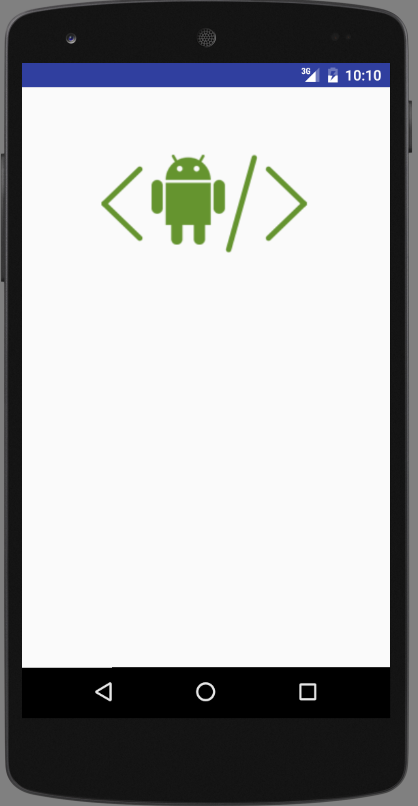
As you see we haven’t create a layout file named activity_splash_screen.xml yet. Create it via right-clicking on res > layout > New > Layout resource file. We want to display the app’s logo so we need to copy logo.png (any file can be used) to res > drawable folder. The logo will be displayed in an ImageView. Open activity_splash_screen.xml and add following codes:
[xml]
<?xml version="1.0" encoding="utf-8"?>
<RelativeLayout xmlns:android="http://schemas.android.com/apk/res/android"
xmlns:tools="http://schemas.android.com/tools"
android:layout_width="match_parent"
android:layout_height="match_parent"
android:paddingBottom="@dimen/activity_vertical_margin"
android:paddingLeft="@dimen/activity_horizontal_margin"
android:paddingRight="@dimen/activity_horizontal_margin"
android:paddingTop="@dimen/activity_vertical_margin"
tools:context="picassoapp.test.com.picassoapp.SplashScreen">
<ImageView
android:layout_width="wrap_content"
android:layout_height="wrap_content"
android:id="@+id/imageView"
android:background="@drawable/logo"
android:layout_alignParentTop="true"
android:layout_centerHorizontal="true"
android:layout_marginTop="50dp"/>
</RelativeLayout>
[/xml]
The splash screen is completed. The next step is to make it displayed by default by modifying AndroidManifest.xml file.
[xml]
<?xml version="1.0" encoding="utf-8"?>
<manifest xmlns:android="http://schemas.android.com/apk/res/android"
package="picassoapp.test.com.picassoapp">
<uses-permission android:name="android.permission.INTERNET" />
<application
android:allowBackup="true"
android:icon="@mipmap/ic_launcher"
android:label="@string/app_name"
android:supportsRtl="true"
android:theme="@style/AppTheme">
<activity android:name=".SplashScreen">
<intent-filter>
<action android:name="android.intent.action.MAIN" />
<category android:name="android.intent.category.LAUNCHER" />
</intent-filter>
</activity>
<activity android:name=".MainActivity">
<intent-filter>
<category android:name="android.intent.category.DEFAULT" />
</intent-filter>
</activity>
</application>
</manifest>
[/xml]