Bit Locker is a data protection feature that was introduced in Windows Vista. It gives users the ability to encrypt their operating system drives and any other drives where they store confidential information (such as your company’s financial records). In this blog post, we will discuss what Bit Locker is, how it works, and how you can disable it if desired.
What is BitLocker?
The goal of Bitlocker is to prevent unauthorized access or exploitation of data on lost or stolen computers by providing encryption for entire volumes – usually including all disk space on fixed disks connected to the computer.
BitLocker provides a level of assurance that your data is safe from unauthorized access on lost or stolen computers by providing encryption for entire volumes – usually including all disk space on fixed disks connected to the computer.
This means that even if an attacker has physical possession of your PC/laptop after stealing it from you, without knowing your Bitlocker password, they will not be able to access any of your files.
When you turn on Bit Locker in Windows Vista or later versions and then start the PC up again, a passphrase is required before it can boot into the operating system. If this process cannot find an existing drive that has been configured for Bit Locker protection (via Group Policy) or finds one but does not have administrative privileges at startup time – it prompts the user to enter a new PIN/password combination instead.
If there are no problems starting up without prompting users to provide credentials, then third-party software must have intruded and disabled these features. The boot loader environment variables may need to be set to default values again.
This means that even if an attacker has physical possession of your PC/laptop after stealing it from you, without knowing your password, they will not be able to access any of your files.
Disable BitLocker In Windows 10 in Settings
If you decide that you do not want to use Bit Locker, it’s easy enough to disable the service and stop encrypting any new files on your computer.
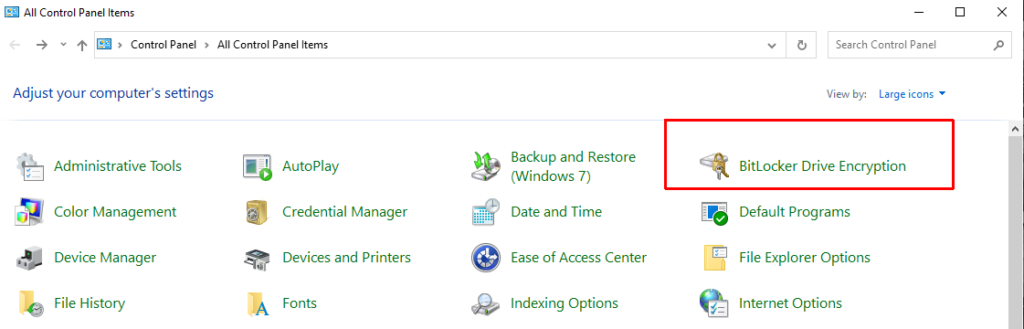
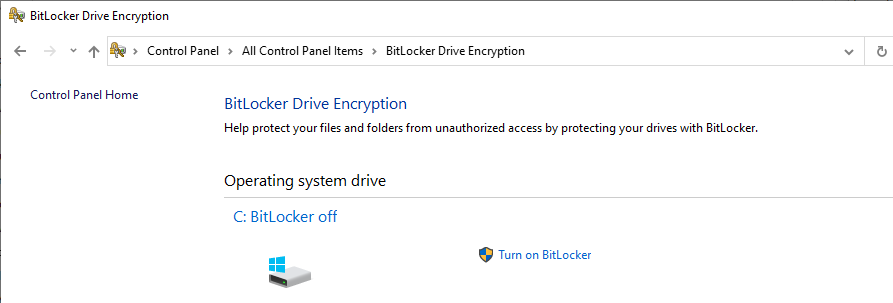
- Simply go into Control Panel > BitLocker Drive Encryption as shown above. Or you can type Manage BitLocker directly into Windows Search bar then access the app from the search reuslt.
- On the rightside of each disk drive, there is an icon which allows users to turn of or turn off BitLocker.
- Then enter your password so that it can finish turning off encryption.
When a user turns on Bit Locker in Windows 10 and starts their PC back up after entering a passphrase, they are required before being able to log in with an operating system drive (e.g., C:\) that has been configured for Bit Locker protection.
If there are no problems starting up without prompting users to provide credentials, then third-party software must have intruded and disabled these features.
The boot loader environment variables may need to be set back to their default values before proceeding with the installation of Windows 10.
Disable BitLocker In Windows 10 with PowerShell
In case you can’t access the GUI or just want to use Windows PowerShell tool, you can try the following command line.
You must run PowerShell as Administrator to be able to use the command line.
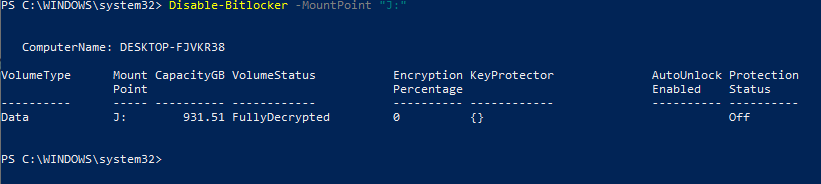
Disable-Bitlocker –MountPoint "J:"Disabling BitLocker will decrypt all of your files, meaning that you’ll have to start from scratch with other security measures.