This article provides step by step to download PHP and switch the latest version of PHP as running one in XAMPP on Windows 10.
In the past few years, PHP has been constantly updated with changes which leads to versions jump quite fast as well. To keep it posted with modern app in an XAMPP installation, we need to change PHP version once in a while as well.
Install PHP for Windows
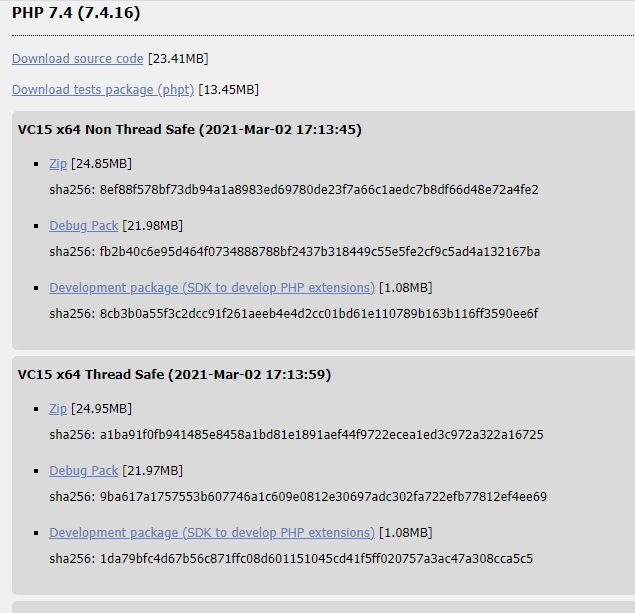
Firstly, go to the official page and download the required version of PHP 7 for Windows. You can try either PHP 7.4 or 8.0 as the most recent releases.
Remember to pick the right file zip for your OS's architect. For example, I pick VC15 x64 Thread Safe.
After waiting for the file to be downloaded completely, extract it to xampp folder. In my case I extract it to C:\xampp\php-7.4.16.

Modify httpd-xampp.conf
Open XAMPP Control Panel then click Config button then httpd-xampp.conf. This file contains some settings for XAMPP' modules such as PHP, MySQL.
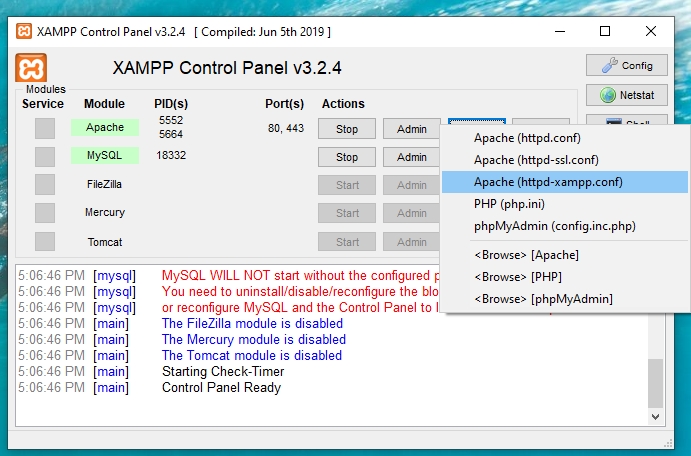
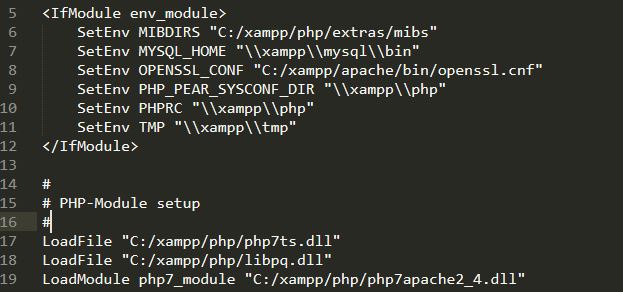
We need to open this file and replace the current php folder with our new one.
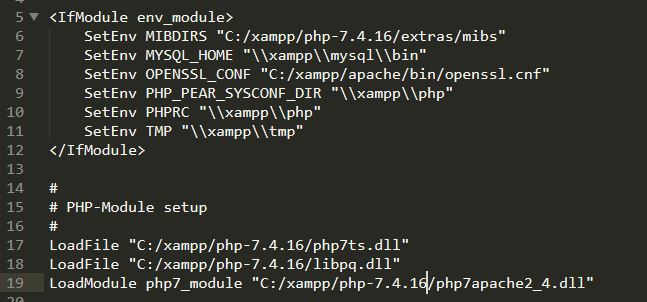
How it looks after replace php with php-7.4.16.
Restart Apache server
Switch to XAMPP control panel again to restart Apache with Stop and Start buttons.
In case you are encounter issue with vcruntime140.dll, you can fix it by installing Microsoft Visual C++ Redistributable for Visual Studio 2019.
PHP Warning: 'vcruntime140.dll' 14.0 is not compatible with this PHP build linked with 14.10 in Unknown on line 0
Comments