Windows users may encounter an error code 0x80240009 while trying to update their system. This error message means that there is another operation happening at the same time, which is causing a conflict and preventing the update from going through. However, there is a way to fix this problem. In this article, we will guide you through the steps to fix the Windows Update error 0x80240009.
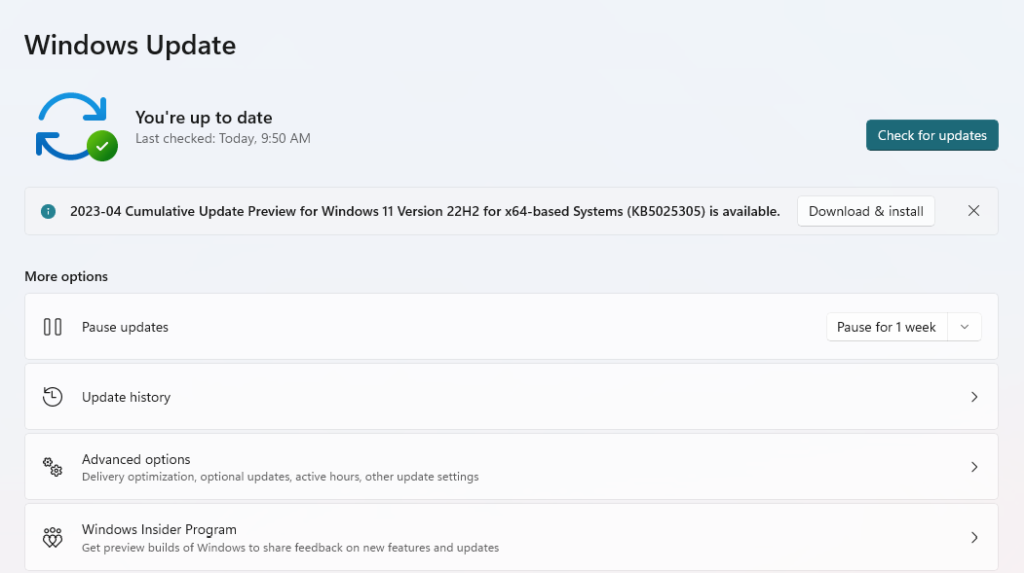
How to Fix Windows Update Error 0x80240009?
First, open an admin command prompt by searching for “cmd” in the Start menu, right-clicking on “Command Prompt,” and selecting “Run as administrator.”
Next, copy and paste the following commands into the prompt:
net stop bits
net stop wuauserv
net stop appidsvc
net stop cryptsvc
del "%ALLUSERSPROFILE%\Microsoft\Network\Downloader\qmgr*.dat" /Q
del "%HOMEDRIVE%\Users\All Users\Microsoft\Network\Downloader\qmgr*.dat" /Q
del "%WINDIR%\SoftwareDistribution\*.*" /s /Q
net start bits
net start wuauserv
net start appidsvc
net start cryptsvc
These commands will stop the necessary services and delete any cached data that may be causing the update error. After running these commands, check again for updates.
It’s important to note that while these steps have been proven to fix the Windows Update Error 0x80240009, they may not work for all users. If you continue to experience issues with Windows updates, you may need to seek further assistance from Microsoft support or a qualified IT professional.
Other Methods
The error code 0x80240009 can happen due to trash or incorrect values present in your Windows registry. In this case, cleaning your registry with a reliable registry cleaner tool could help resolve the issue.
Another possible cause could be a corrupted services cache, in which case you would need to clear the cache. You can do this by following these steps:
- Press the Windows key + R on your keyboard to open the Run dialog box.
- Type “services.msc” in the box and hit Enter.
- Locate the Windows Update service in the list of services.
- Right-click on the service and select “Stop” from the context menu.
- Now, navigate to the following folder on your computer: C:\Windows\SoftwareDistribution\DataStore
- Delete all the files and folders inside this folder.
- Go back to the Services window and right-click on the Windows Update service again.
- This time, select “Start” from the context menu.
If the error code 0x80240009 persists, another possible cause could be damaged Windows system files. To check for and repair any corrupted system files, follow these steps:
- Press the Windows key + X on your keyboard and select “Command Prompt (Admin)” from the menu that appears.
- In the Command Prompt window, type “sfc /scannow” and hit Enter.
- Wait for the scan to complete, which may take some time.
- Once the scan is finished, restart your computer and try updating your Windows again.
Lastly, a corrupted Windows Update cache could also cause the error code 0x80240009. To clear the Windows Update cache, follow these steps:
- Press the Windows key + R on your keyboard to open the Run dialog box.
- Type “services.msc” in the box and hit Enter.
- Locate the Windows Update service in the list of services.
- Right-click on the service and select “Stop” from the context menu.
- Navigate to the following folder on your computer: C:\Windows\SoftwareDistribution
- Rename the “Download” folder to “Download.old”
- Go back to the Services window and right-click on the Windows Update service again.
- Select “Start” from the context menu.